 |
| Plasticine bung |
 |
| Take the bung out |
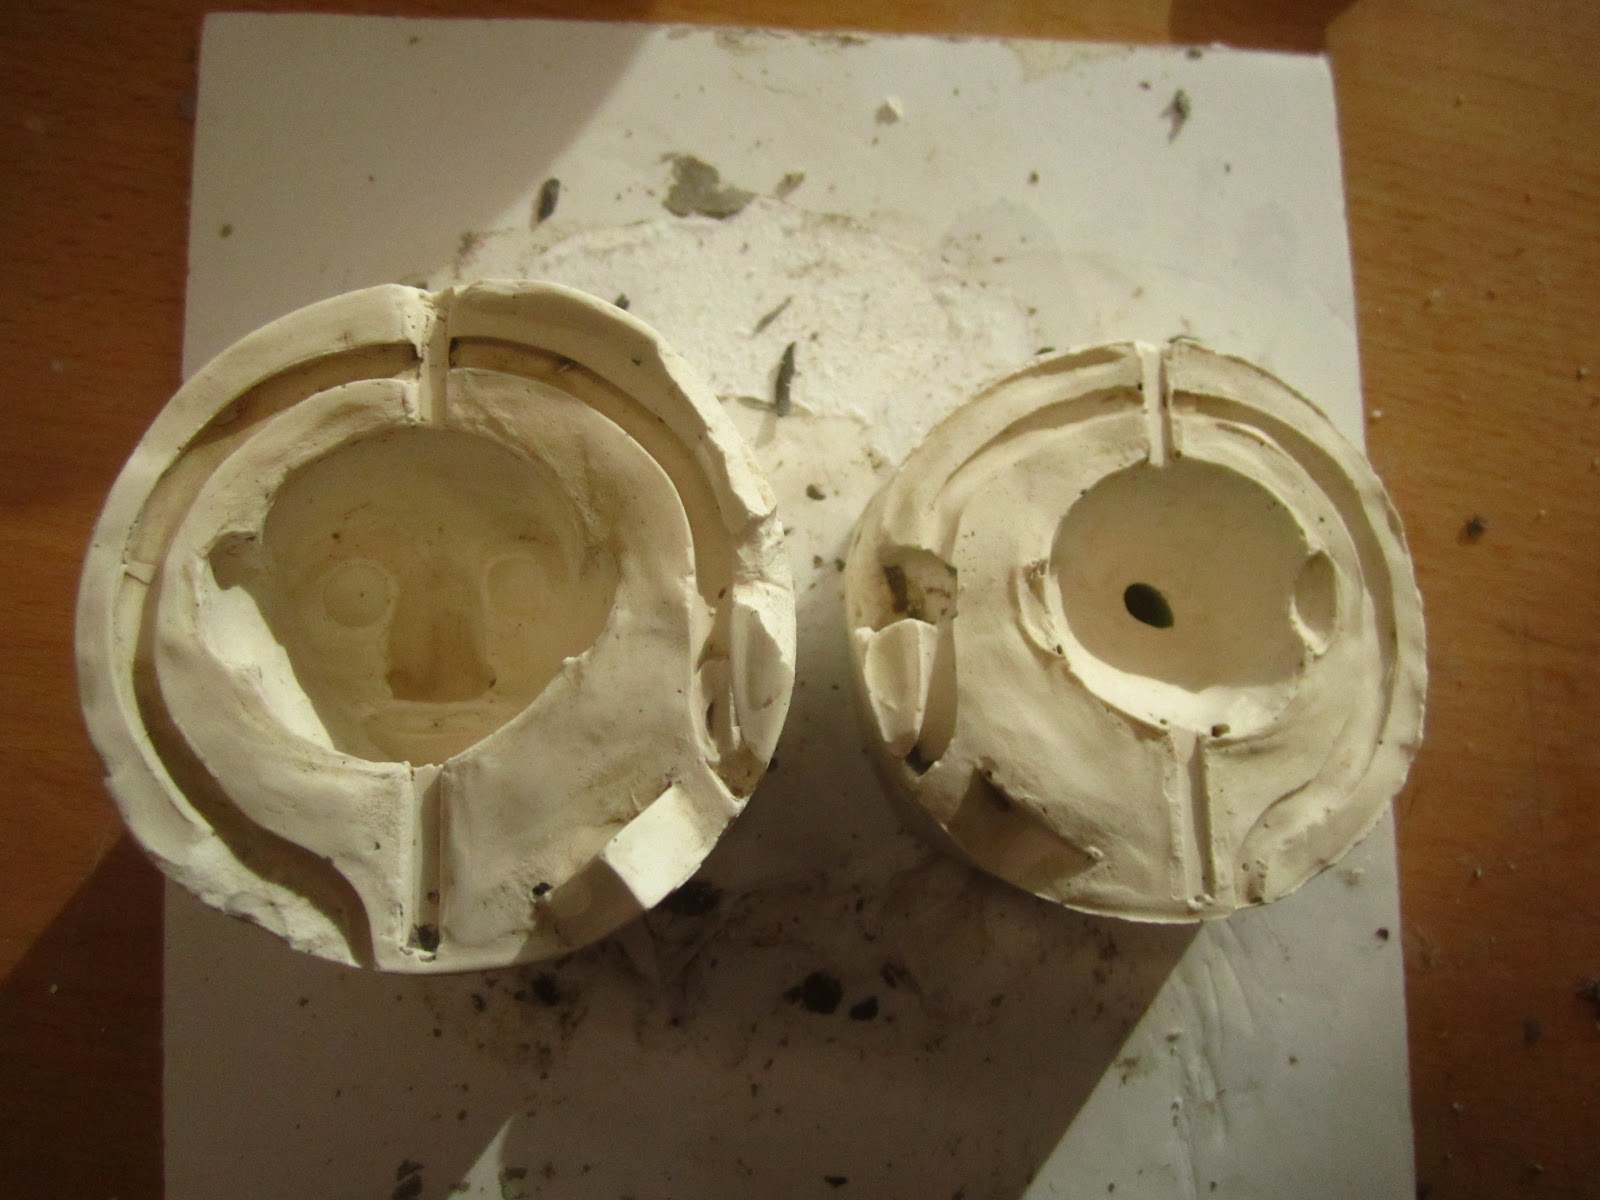 |
| The liquid soap should have made a barrier so the mold was easy to open. I had to prise mine open but it stayed intact. |
 |
| Replace the armature so it fits snugly. |
 |
| Replace the eyes back into the mold |
 |
| Mark which way up the armature should be facing. And stop the bung hole with a bit of plasticine. |
 |
| This is the silicone that we used to fill the molds. It looks a bit like raw chicken. This was coloured using a flesh coloured oil paint. Oil paint is best to add pigment. |
 |
| Mixing the separate parts. One part was coloured using oil paint (yellow). Adding pigment to just one part keeps it translucent which is better for skin. |
 |
| Mix until it is nicely blended. |
Once the silicone had been mixed and left to settle for a bit to let the air bubbles rise, carefully painted the silicone onto the casting surface- this prevents air bubbles.
 |
| painting inside of the cast. |
 |
| Do the same for the back. |
 |
| Then gently pour the silicone so it hits the armature an flows around it. |
 |
| Put the two halves together. The mold should be overfilled so that when the two halves are put together the excess silicone overflows up the bung. |

 |
| Here you can see how the shim acts like a drainage system. |
 |
| Et voila! |
 |
| He has a few air bubbles but thats because we were working against the clock. |

 |
| I can trim the seams and the back were silicone flowed into the bung. |
No comments:
Post a Comment