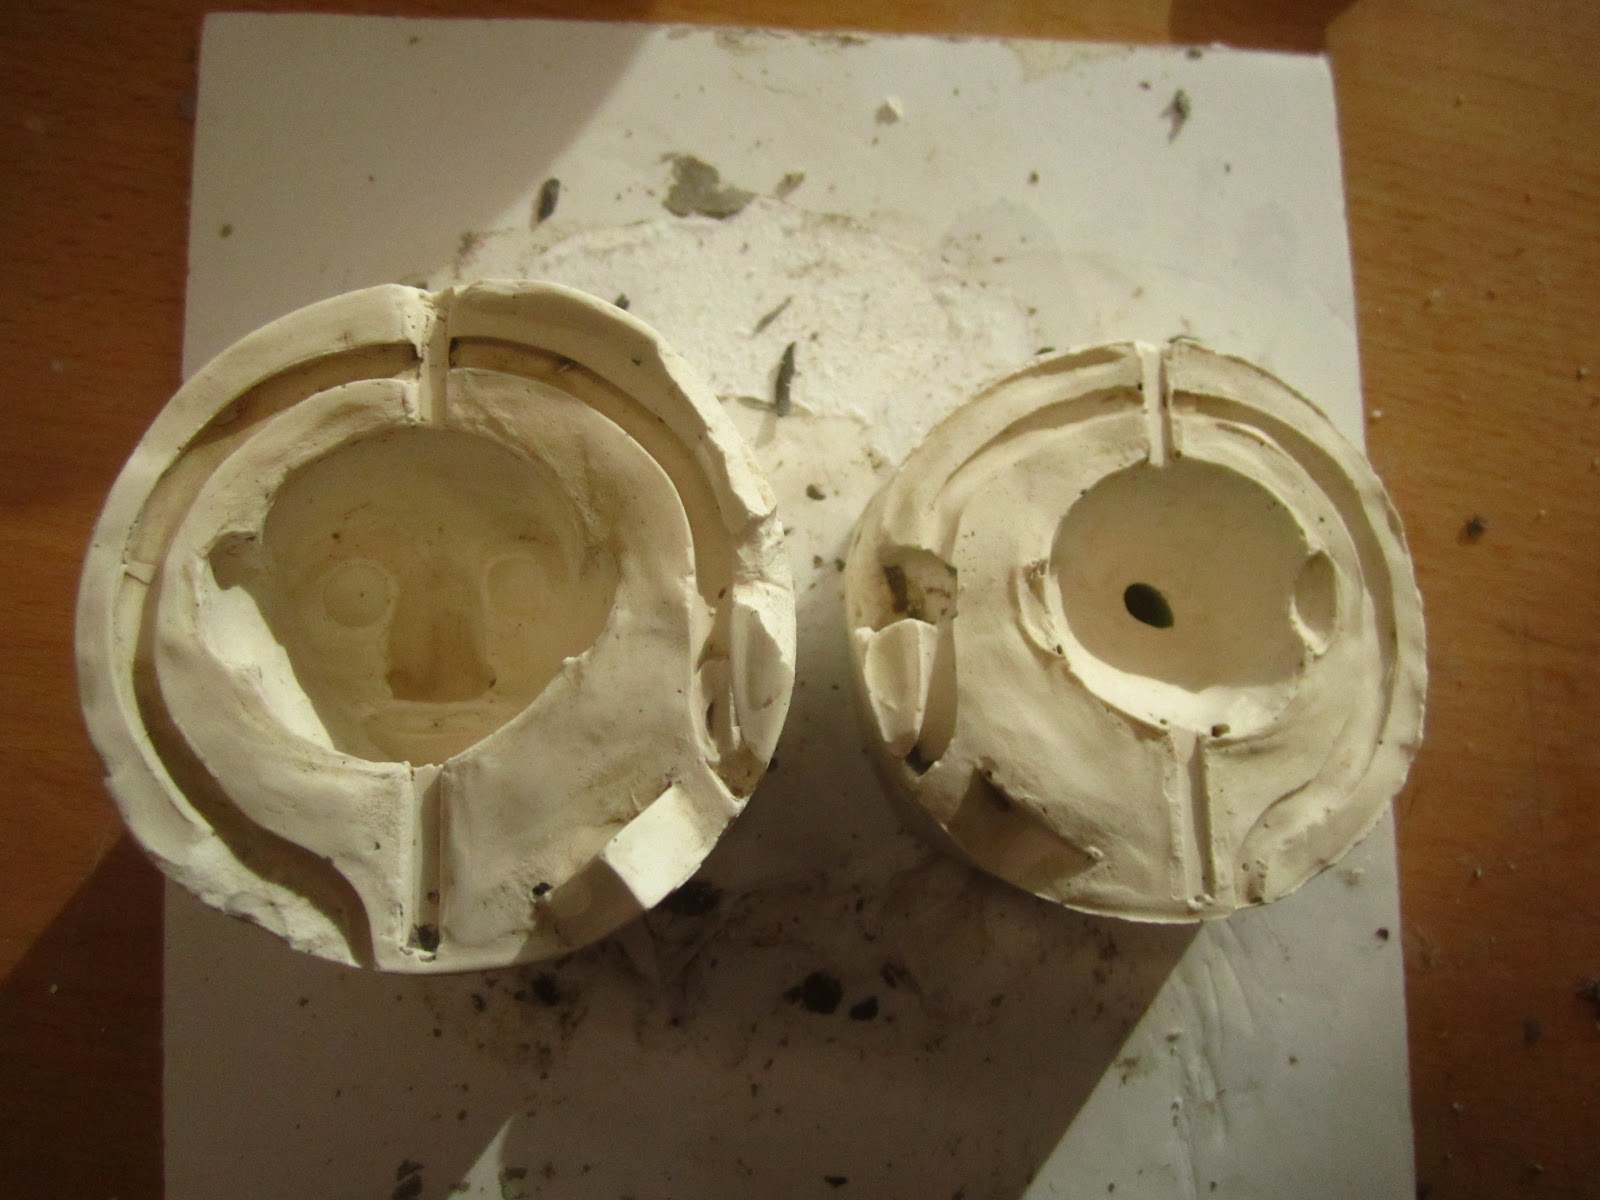
On friday I did a casting workshop with Mary Murphy. We learnt how to make a two part mold in plaster. First I made a plasticine head- i used a hard sculpting plasticine so it would be more resistant and not get squashed and mishapen.
First I used some super light sculpy to make a light weight core for the head. A piece of K and S to run down the middle- this will act as a brace to hold the model in place during mold making.
 |
Light weight core with K and S throughout the middle.
|
Then using the sculpting plasticine i built up the head around the core. I used 2 beads for the eyes and built around them. I didn't sculpt eyelids because they would be permanent and wouldn't be able to change them if i wanted to animate a blink etc..
I think maybe if i was going to make a live action puppet i would sculpt eyelids onto the model for casting because they are quite good for enhancing characteristics.
Then once the model was at a stage i was happy with I used potters clay to build a casting bed. I made little balls of clay to build it up- using balls makes it easier to remove for the mold.
The clay bed should come up half way on the model and half way on the K and S (which needs to be sitting level on the clay). The half way line or seam is best when it goes along the back of the ear so it can be concealed.
The clay needs to be levelled out so its as perpendicular to the model as possible. Once I had smoothed it out as best i could with my finger, I used a piece of eraser cut into a wedge and went around the edge of the model to make a clean 'casting line'.
 |
| Using a rubber to make a clean casting line. The better the casting line the neater the seam will be. |
 |
The casting line needs to be as clean as possible so you don't create undercuts when the mold is flipped to cast the other side.
|
After i had cut away excess clay from the bed, I cut a location mark in the clay. Then I made a 'shim' which is a drainage channel in the mold. I helps to make sure the 'flashing' (the bit around the edge of the cast) is wafer thin.
To make the shim, I rolled a thin coil of clay and cut it down the so it was flat on on edge and curved on the other.
 |
| Location mark |
 |
| The shim goes half way between the edge of the mold base and the model. IT MUST NOT TOUCH THE MODEL! |
 |
| The shim needs to go right to the edge of the mold base. |
To make the casting wall, I wrapped a piece of card very tightly around the clay and taped it in place with gaffer's tape. The I sealed the base with more potters clay. It is very important that it is tigt and well sealed so no plaster escapes.
 |
| Just like that, nice and tight like... |
And then.... I got pouring! Pour a little bit in careful not to pour plaster straight onto the model or it will splash. Stop part way and give it a jiggle to get bubbles to the surface. And pour more, about 1-2cm above the highest point on the model i.e. the nose.
 |
| Looking like a milkmaid... |
Leave the plaster to set- half hour or so...CUP OF TEA TIME!
................................
 |
| Remove the card wall and hey presto! i made cheese cake! |
 |
| Remove the clay balls to reveal the back of the model |
Once all the clay had been removed from the back of the model, I cleaned up the plaster mold. I sanded the edge of the mold with a wet scourer pad and cleaned the bits of clay left on the plaster.
 |
| Revealing the back of the model |
 |
| Clean up the edge of the mold, shim and casting suface, make them nice and smooth- |
 |
Make sure all bits of clay are cleaned off the model
|
Then put a coil of clay back in the drainage channel to keep it open when you make the other part of the mold. Then coat the plaster ONLY with a liquid soap solution to stop it sticking the next lot of plaster that will be poured on to make the 2nd part of the mold.
Unfortunately, this is as far as i got because i had to leave early- having a job and all that. But i will finsih it next week.
Really looking forward to casting it and seeing the result!